Friday, January 20, 2023

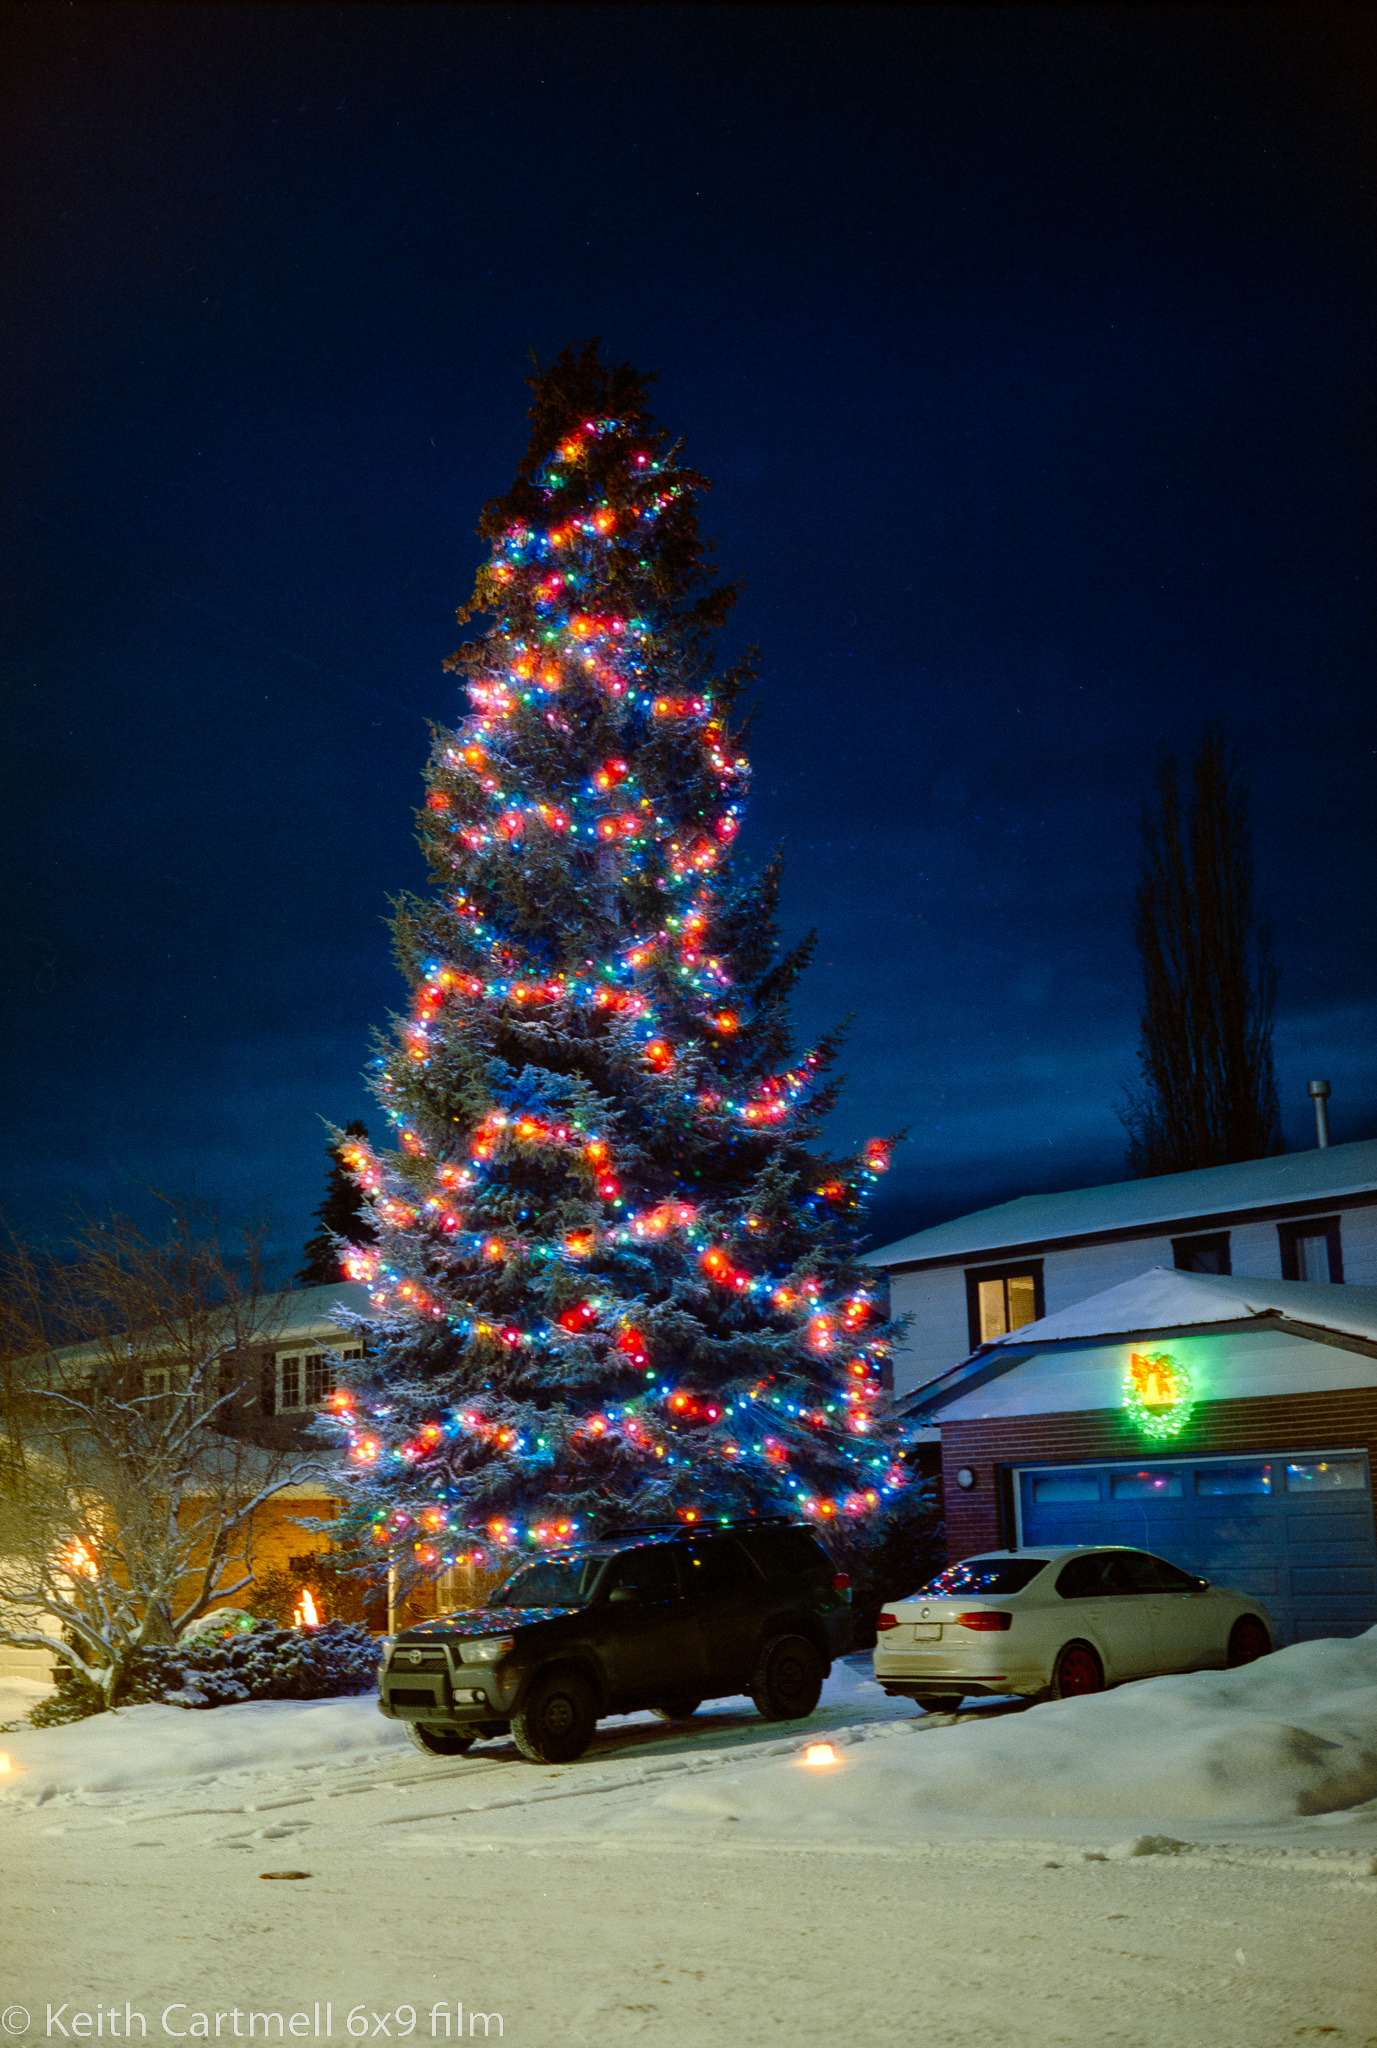
Xmas lights on 120 Cinestill 800T

Twas the season. Once upon a time I picked up some 120 Cinestill 800T thinking I'd do some city night photography with it. Then I forgot about it, though it was in the fridge right beside the cheese compartment that I look at nearly every day. Then I got another roll because, well, like I said.

If you're curious about film, keep reading. If you don't care about film technicalities, scroll down to the photos.

We had a long really cold spell here, and I wasn't thrilled about taking the film cameras out in it. They're metal, and would get cold quickly. The film would get cold shortly after that, and I started thinking about what temperature film gets brittle. I didn't find any definite answers, but the suggestions lined up pretty close to how cold it was outside, which was well into minus WTF territory. Being honest, when it's that cold it's easy to stay home and read or watch a movie.

The first evening it warmed up to something mostly civilized, like maybe -10C or something, I had the film loaded and away I went. Linda came along to spot as I drove around our neighbourhood. There were not as many light displays as I had hoped. Halloween seemed much better.

Eight photos goes quick, and then we got to the Griswold's near Michelle's place. I thought I had one more on the roll. I sighed big time when I put the exposed roll in the fridge, and saw the second roll. Had I realized... At that point I didn't want to go out again, and did want to see what the exposed film looked like before I went and exposed more. If I'd made a terrible mistake I wanted to know. This is expensive film, about $22 a roll to buy, and another $11 to develop. 

Anyway. The fun, or the downside of Cinestill 800T is that it's had the remjet layer removed, which means that some light can go through the film, exposing it like usual, and then bounce off the back of the camera and expose the film some more. This leads to a halo effect around lights, particularly neon lights, and particularly red lights. If you like it, you're in. If you don't like it, you'll use something else.

Exposure at night on film using a camera that doesn't have an exposure meter is something to be careful about. Normally I use an iPhone light meter, but occasionally bring the digital camera along to be a sophisticated light meter. I'm pretty sure I did that this time.

These were taken with the GW690, and the exposures were 1 second. Exposures longer than that, but shorter than about 5 seconds are a pain on this camera because it has a T mode, but not a B mode. But one second was easy, so it worked out really well. Normally I expose for the shadows and let the highlights take care of themselves, but for this I exposed for the brightest part of the lighting. I didn't mind if the sky and shadows were dark if the lights were right, and figured if it was too bit dark I could fix it in Lightroom.

There were only slight tweaks in Negative Lab Pro, typically Cinematic mode, and WB to Cinestill, with maybe a bit of tweaking to exposure and brightness. All I did in Lightroom was to rotate a few of the images slightly, and remove some dust spots.

1.

2.

3.

4.

5.

6.

7.

8.


I like how the colours came out, and the halation effect is interesting. I'll have to get up a night expedition with buddies and find a place to expose the other roll. Downtown, perhaps, or skyline, or maybe the Ogden industrial park. Maybe if I'm really organized I'll expose a roll of Gold 200 at the same time to see what I think. 

I've been using the Lomograph film carriers to hold the film as I take the photo of it. This has been a bit of a pain, especially if the film curls. I was absolutely convinced that one brand of film was slightly narrower than standard, making it almost impossible to hold them. Maybe I'll revisit those with the glass. Sometimes the film being curved can affect how the digitizing photo is taken. 

One way of keeping the photo absolutely flat is to sandwich it between two sheets of glass. Except if you use ordinary window glass you'll get ugly rings showing up because of how light diffracts through glass. But there's special glass that doesn't do this, and when I say special I mean expensive. I found a place that had some off cuts so got a couple pieces cheap. 

The process goes like this. Wash your hands with soap, really thoroughly. Wipe the glass, both sides, each piece, with a microfibre cloth. Use an eyeglass lens cleaning solution if there are smudges and make sure it's dry with no streaks. Take film out of the plastic sheath they came from the lab in, blow it off or dust with an anti-static brush. Lay as many pieces of film on the glass as will fit. Put the second piece of glass on top, being careful not to move the two pieces in relation to one another. The film strips don't have to be lined up in relation to one another. Place them on the light source. Tweak focus, take first photo. Now, move the entire light source, NOT THE PANES OF GLASS, so that the next photo is in the view finder, click, repeat. Putting film on the glass is much faster than loading in the carrier. 

In my digitization process I do not include the border, or the sprocket holes on 35mm film, but with the glass plate method I could if I wanted to. Doing this means being careful about your exposure because the camera could 'see' light directly from the light source. Sometimes white balance can be tricky in Negative Lab Pro if the border is included in the image.

I first experimented with some black and white film to see how it worked out, and to try to stitch multiple frames together to create a larger image. The process worked really well, though I didn't line up the edges quite perfectly, so instead of a print 4x3 feet, it would be about 4 x 2.5 feet. Not that that particular photo is worth it, but others might be, and I'm thinking some of the Tombstone photos. However, I hadn't taken any particular care to clean the film, so the dust spots were were insane! Note to self and all. If I had to print that one, I'd clean the film and redo the whole process.

Will I buy more Cinestill? I'm not sure. If I had a photo project where I wanted that halo effect, then of course I would. I'm looking forward to exposing the other roll and comparing to Gold 200. 

Will I continue on using glass rather than the carriers for digitizing film? Yes! It's way faster than fussing with the carriers, especially for curly film. It just occurred to me that I could put other materials between the glass with the film, like coloured gels, or two pieces of film.


Wednesday, December 21, 2022

Flic Film Visions3 250D review

Recently I started carrying my Canon 7 around most places I went. The idea was to keep an eye out for interesting scenes. I've found that the camera I'm carrying influences what I 'see'. While there's been times I'd see something and say to myself that I wished I had a good camera on hand, mostly when I don't have a camera I don't think about photos. The Canon 7 is small enough that carrying it around isn't a burden.

During a photo road trip last summer I'd stopped at Film Experience in Longview, Alberta, and picked up several different kinds of film when I bought the camera. I exposed a roll of the Visions3 back in May 2022, and loved the results, but mostly I was about putting an inexpensive roll of film through the camera. I wanted to try it again with autumn colours. 

During another road trip I picked up another roll, and exposed it October 2022 during the peak of autumn colour. So far so good. What I'd forgotten was that the lab I use has a 2 roll minimum for processing this film. It needs the ECN-2 process, rather than the regular C-41. Oops.

I wasn't going to drive out to Longview for one roll of film. Neither could I find any film in Calgary that needed that processing. I ended up buying a bunch of film to get the free shipping, and it arrived in a few days. Now I have lots of film for both cameras, probably enough for all winter, maybe longer. 

In the meantime, I'd put a couple rolls of Kodak Gold 200 through the camera, and loved the results! I finished those off, and loaded a second Visions3. By now the autumn colours were essentially gone, and I worked some street and nature scenes. I got stalled with a half dozen exposures to go. 

Then I was watching a video about a person running a weekly film contest. Every Saturday the idea was to submit a photo taken within the previous week. The logistics of joining that were pretty daunting, in terms of exposing a roll and getting it back from the lab within a week. But something he said struck me, about getting the photo you wanted to send in, and still having some of the roll left. Just go shoot it! Experiment. Play, take photos of anything. So I set the camera up on our front lattice in the evening and tried light trails. 

When it comes to comparing Visions3 to Kodak Gold 200, I don't see a lot of difference. Give the films lots of light and the images come out with bright, and true to life colours. Exposure gets a bit more tricky in more subdued light.

But first, for new readers that care about the background details. If you just want to see the photos scroll down. I'm using a Canon 7 with a Canon 50mm f1.4 lens. Mostly I expose for the shadows with an iPhone meter and let the highlights take care of themselves. The lab is Paul Stack, and I think he does a great job. I digitize the negatives using a Canon T6i with a Canon 100mm f2.8 L macro lens. Inverting from negative to positive is with Negative Lab Pro (v 2.3.0 and yes I know there are updates available, and that whole thing is another issue entirely), and I generally tend to have a light hand on editing. I like the image to look like film, and I don't try to make it look like a digital image. My thinking is that if you want it to look digital, the capture it on digital, and if you want it to look like film, capture it on film. Then into Lightroom to deal with any dust spots or hairs, cropping, or correcting rotation. All this practice and I often still hold the camera slightly rotated off horizontal.
The hardest thing about the whole process is loading the cut film strips into the carrier to go onto the light source. These two rolls were slightly cupped from edge to edge, making it a bit tricky to load. I've been thinking about getting some small sheets of Anti Newton Ring glass but it's stupidly expensive at the places I've looked so far. Since the last film I digitized was 35m, the camera was already in the right spot on the copy stand. A moment to double check focus and I was off.

When I said I used a light hand during Negative Lab Pro editing, I'm not kidding. Play with the white point a bit too much and yellow turns orange and the sky gets really dark. As a photo that might look nice, but anyone living in Calgary knows the trees don't go quite that colour. As shot, the colour tends to be quite vivid. I missed capturing our red peony with this film. I've got another two rolls of it, so maybe I'll wait till it blooms next spring and capture that.

1. We had a fabulous autumn! We get lots of gold and yellow in the trees, and this film picks that up wonderfully. The film loves lots of light.


2. Straight up through a different tree, hoping to catch the glow, and maybe get a nice composition of dark branches. The colour is right, though the glow didn't quite show up as I hoped.


3. A street scene with some of the trees changing colour.


4. This looked almost a little lurid without any processing at all. The only change was to change the Tones filter to Cinematic Rich. Nothing in Lightroom.


5. A scene in South Glenmore park. This nailed the colour and light.


6. A bike pump track. I think that's what it's called. I liked the red stripe and waves of pavement. I could have spent longer looking for composition, but some kids showed up wanting to put the track to the intended purpose. I was almost there a couple days ago, hoping to get interesting shadows in the snow on the waves, but it was way too cold to walk there.


7. A view into Fish Creek.


8. Near the sports centre formerly called Lindsay Park/Talisman/Repsol and now it's some name I can't remember. I was out for a walk with a dear friend who was housesitting another friend. The leaves here were starting to fade, and the bridge really is that ugly rust colour. The Calgary tower is exactly the right colour.


9. The dear friend posing. I am loving how this film captured the light, and treated her skin. I think this is one of my better portraits. Photos like this are why I love using film.


10. I think this is south Glenmore park again.


11. In darker shadow beside the reservoir, but the trees still catching some light.

12. Onto another roll, during a walk just south of downtown with overcast skies.


13. A spontaneous photo. Again, I'm loving how the light is falling on their faces.


14. Inside the library, right beside the photography section. I wasn't sure how the exposure would work, or treat the artificial lighting. I had to fix the shadows a bit, but seems quite acceptable.


15. A twilight winter (duh!) scene in Fish Creek near bridge 3.


16. I think I just followed a couple that cleared off just enough space to eat.


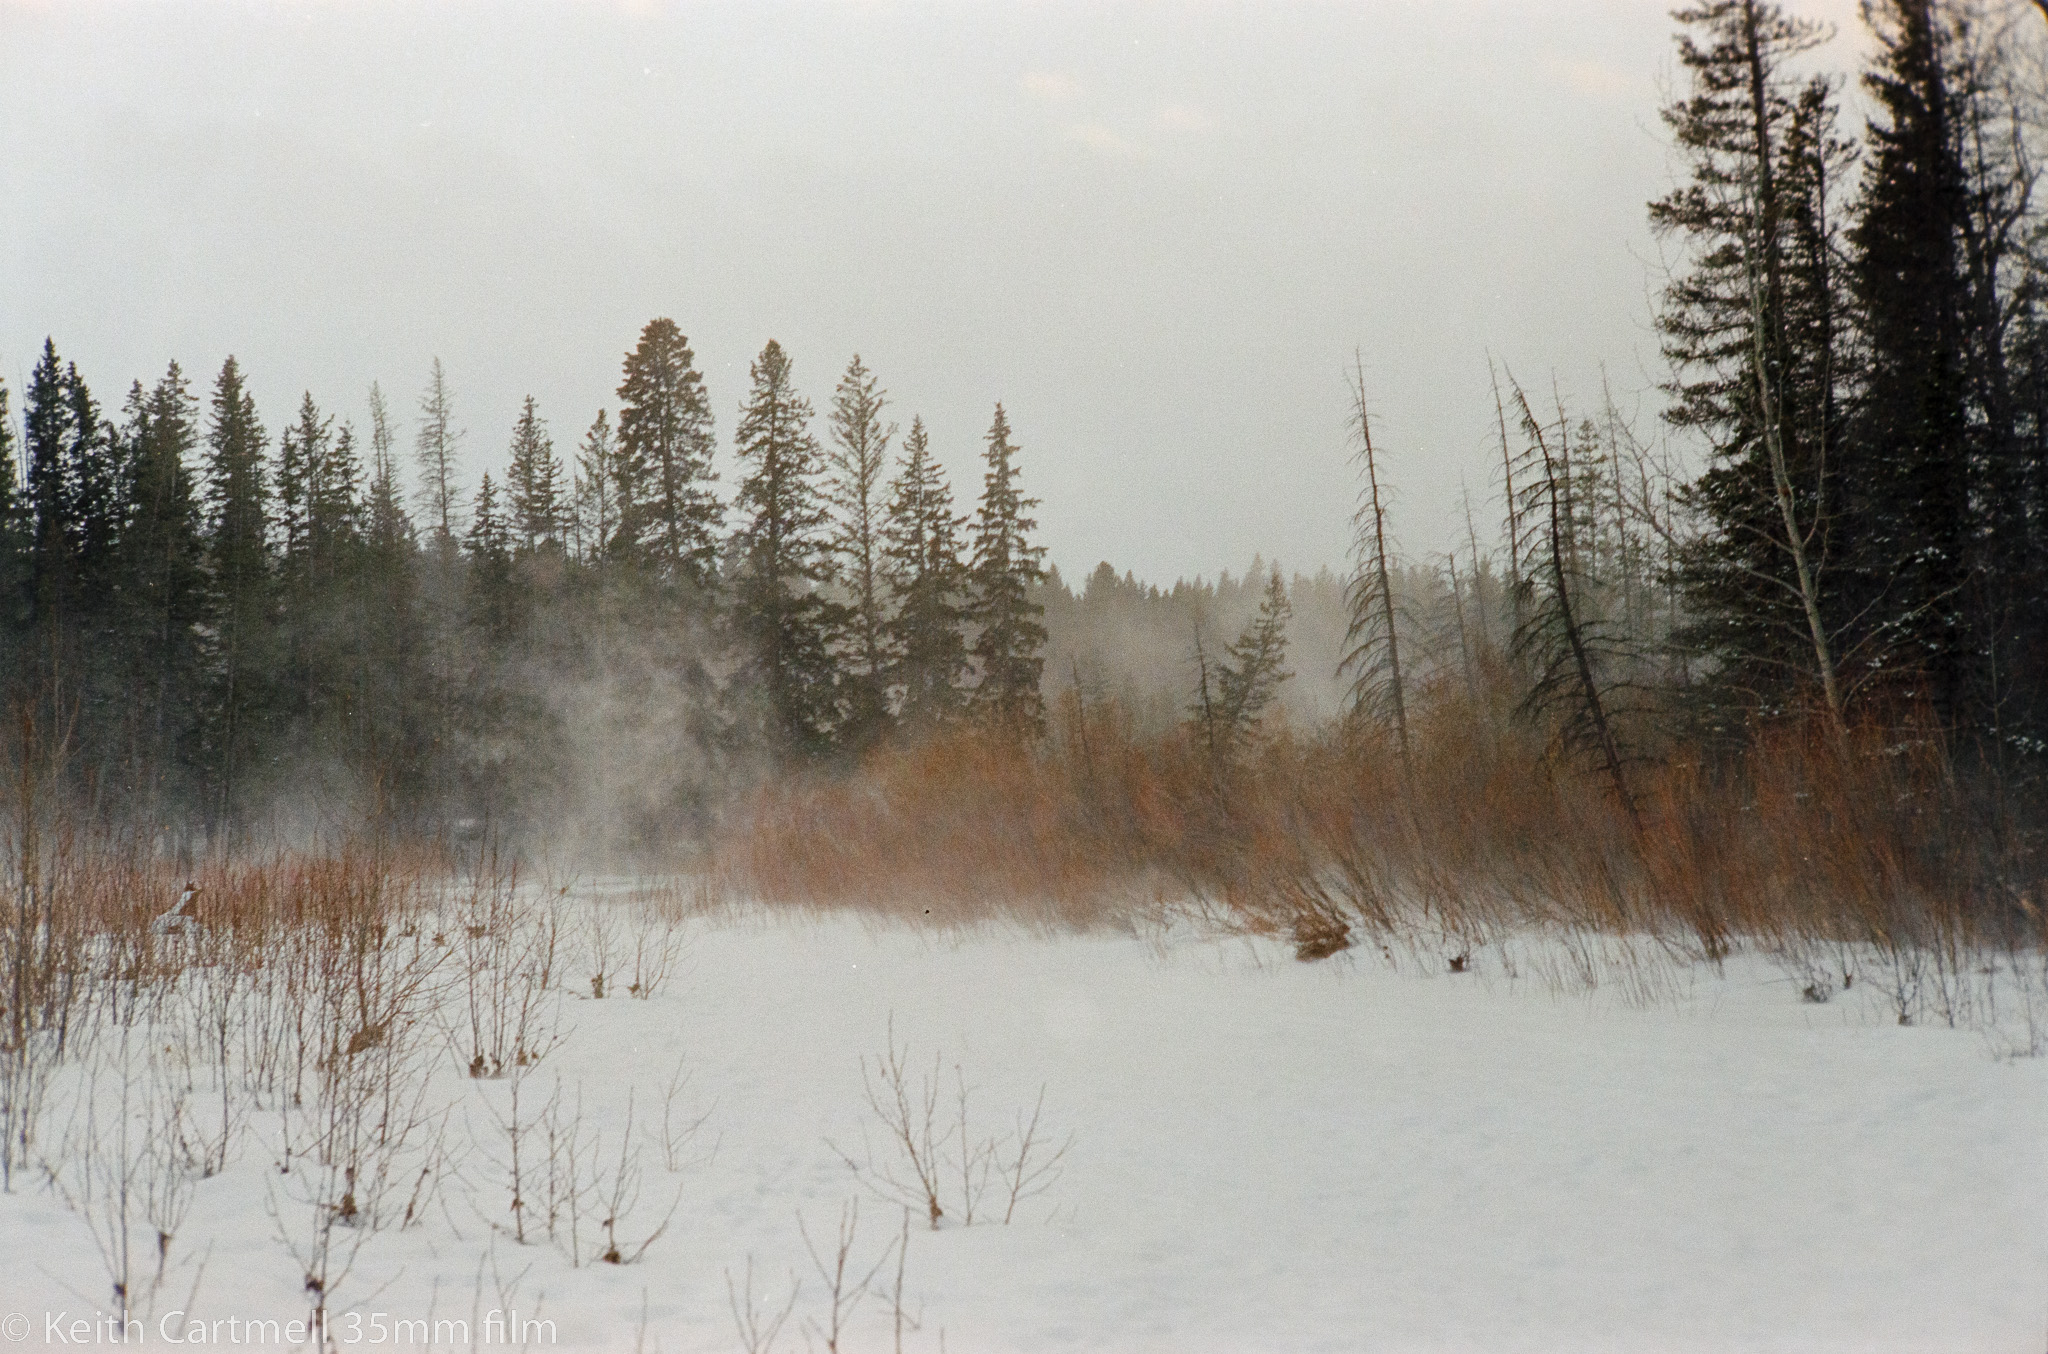
17. Caught a wind gust blowing up as I walked along the creek. About here it started getting really cold and I bailed out of the walk.


18. The promised light trails from just in front of our house. The is the neighbour's front yard UFO landing pad; the one in the back yard is even brighter.


19.

20.

21.

Overall I love the colour! However, the ECN-2 processing is more expensive, and there's that two roll minimum. Once I do the two rolls next year, I probably won't get any more. For sure I wouldn't get anymore if I could reliably get the Gold 200 in 35mm. I bought out all that Walmart had, and I hate shopping at Walmart. They didn't think they would get anymore since it was already back ordered.

What's in the camera now, you ask? Black and white Acros II 100. I got a bunch of it, just barely expired for cheap. 

Saturday, October 15, 2022

Dawson City on film

In early September I was in Yukon with some friends for 10 days. Late September I got the film back from the lab and posted some Tombstone landscapes. While walking around Dawson City I captured some of the buildings that caught my eye. These were captured on a Fujica GW690 using Kodak Gold 200 film. 

Digital photos exist for some of these, but you won't find them side by each. The intent was not to create images for easy comparison. I don't have the technical skills or the desire to do the documentation for a rigorous comparison, and there is no real reason to do so. The main intent was to wander the town during some quiet time before lunch, and capture images of the buildings that interested me for whatever reason. 

In a few cases I was using the camera as a sophisticated light meter, since the light was flat and kind of tricky. In some cases there are digital photos but not film, or film but not digital. Why would I do that? Good question. (Look! Over there, a polar bear!)

1. In three visits to Dawson City, I have not been inside this building. I'm told the show is excellent. But most evenings I was in one of two states. One, heading out to try to capture aurora skies. Or two, collapsed in a heap in bed.


2.

3.

4.

5. The ferry across the Yukon river. Back and forth all day. This is not a cable ferry, the pilot has to actually account for the fast current, and then run aground just right. Hard enough to anchor the ferry so people can drive off and on, yet not so hard as to damage the ferry or make it impossible to get off again. Every trip is a bit different. 

The astute of you are asking yourselves, "what do they do in the winter?" The ferry is retired for the season and they build an ice bridge. Yes, life gets tricky during the transition seasons. I'm told it's $400 for about a 1 minute helicopter ride across the river. Maybe ok if you are suffering severe medical distress, but you'd hate to do that because you planned badly and are running out of groceries.

I was sitting, waiting for the ferry to be in just the right spot for this photo. 


6.

7. The Kissing Sisters. These are a pair of famous buildings, built before people fully understood how to build on permafrost. This is why there are abandoned buildings in Dawson.


8.

9. No, that's not an artifact of holding the camera at a funny angle. The building really is tipped over.


10. This one and the next one are just beside each other, and do not appear to be falling down, so I'm not sure why they've been abandoned. There is a housing shortage there, so I'm a bit surprised they haven't been renovated. Then again, the costs for doing so could be far more than any possible return.


11. I was wondering what this building used to be. It has a vaguely 60's federal look to it. 


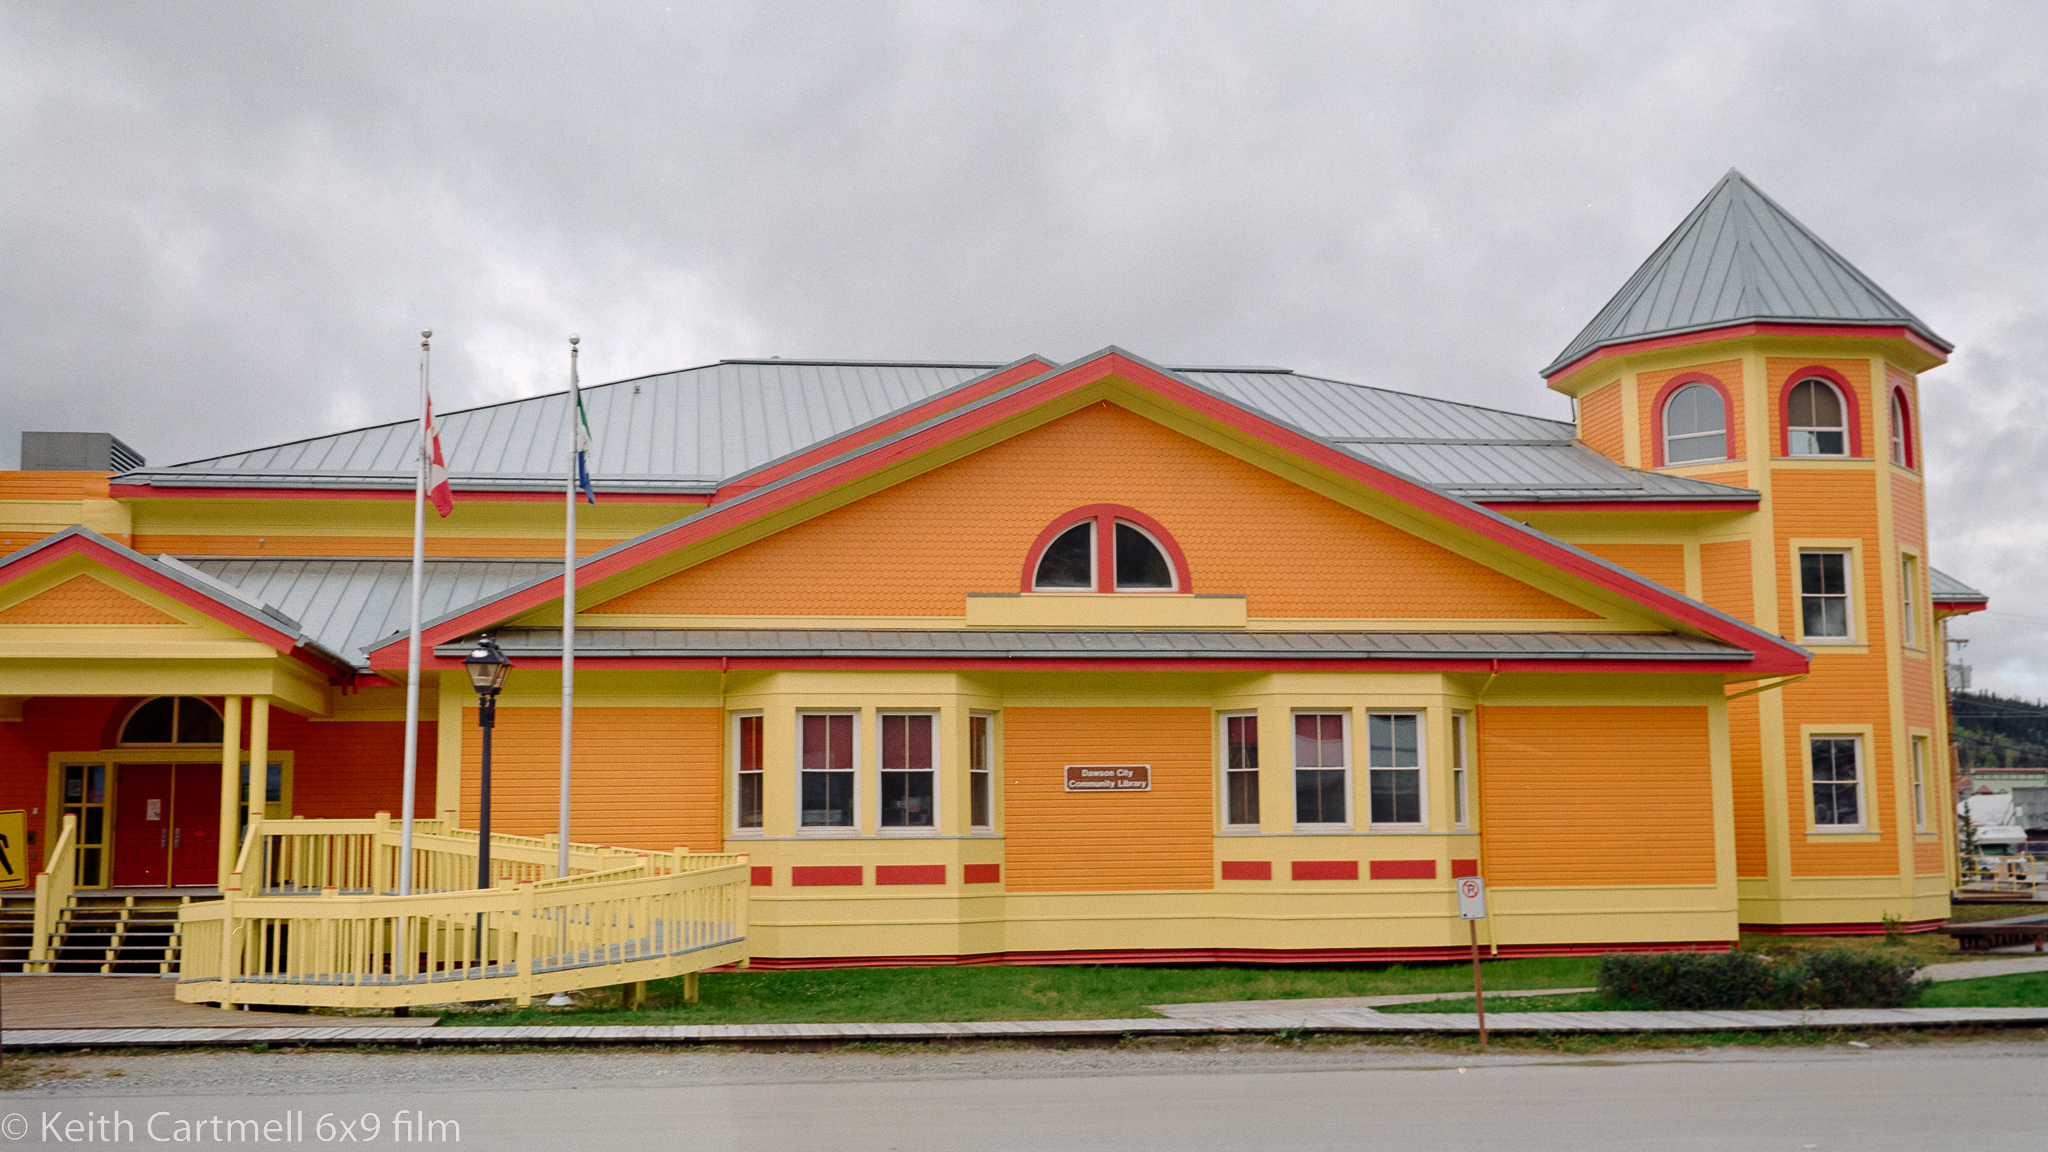
12. The school and library is such a cheerful building. I don't think it's new, I think they've dressed up an older building. 

13. One of the hotels. Our group stayed there on the last trip.


I missed one of the more famous buildings downtown, the one that used to be a bank. I do have a photo of it in digital, and it will appear on my other blog site, probably tomorrow. Every time I was near it with the film camera, there were obstructing vehicles ruining the photo. There are some Dawson photos that will show up as well, because, why not.

Friday, September 23, 2022

Yukon by film

Yukon is an amazing photography destination, especially in September, and especially Tombstone Territorial park. That was the highlight of my recent 10 day trip as part of a Neil Zeller tour. This was my third time there, and I loved it all over again. 

The first time into the park overwhelmed me. I'd never seen anything like it. The bleak mountains with rivers of vegetation colour changing by the moisture levels, the open spaces, the dramatic skies, the silence, all really got to me.

This time I wanted to capture at least some of the images on film, thinking that Kodak Gold 200 would really do justice to the landscapes. It was a bit tricky packing all the digital gear, and the Fujica GW690 with 15 rolls of film, knowing I had to go through airport security and trying to be within weight limits. It all worked out better than I expected. The security people asked if I wanted the film hand examined before I had a chance to ask them, and were curious about the film camera. Not that we had a lot of time to talk.

In the end I put 7 rolls through the camera. 8 photos per roll, so 64 photos. I really goofed with the roll from Solomon's Dome, in that they were all slightly out of focus. Not quite sure what I did wrong there. Down to 48 possible photos. The light conditions were a bit challenging and I'm still new to metering light myself. In no case did I use the digital camera as a fancy light meter.

In the end I edited 45 photos, which is actually more than I expected. I missed focus ever so slightly on one, and a couple are near repeats. Some are the same landscape from subtly different points of view, and somewhat widely different lighting. Wait a few minutes and the look of the landscape can change completely. I love watching cloud shadows drifting along the mountainsides. 

There's two sequences. Today is my pick of Tombstone landscapes, with one from the Top of the World highway. Later will be some of the buildings in Dawson itself. The remainder of the film photos from Yukon, as well as several from an earlier trip to the Great Sand Hills in Saskatchewan will be showing up in my other blog. You can see the Tombstone digital panorama photos here  and more of the film and digital landscapes will show up as well.

There are of course subtle and not so subtle differences between digital and film, but I'm not going to put them side by side to compare them, mainly because that's not the way they were captured. If you want to go through and do that, feel free.

All of these are metered for shadows (as best as possible with an iphone app) and tending to err towards over exposure. Scanned with a T6i using a Canon EF 100mm f2.8 L macro. Converted to positive with Negative Lab Pro and lightly edited there. The biggest task in Lightroom was removing dust spots, most were very lightly edited overall. I've found pushing the sliders for film photos in Lightroom gets weird fast.

1. The best example of rivers of colour.


2. The first film panorama ever for me, constructed from the digital version of two film photos. 9000 x 3900 px, or 30 x 13 inches.


3. The second panorama, 13300 x 3900 px, or 44 x 13 inches. This is the valley leading to Tombstone Mountain, with the actual mountain just visible. That doesn't happen often.


4. One of the photos used to construct the above panorama. 


5. I don't know what I did, but I'd love to do it again. And again and again. One of the effects I try to get on digital photos is to look like a painting. All of the film photos tend to look that way a bit more than digital, and these next several really hit it out of the park on that front.


6. Yes, that same valley again, but with totally different light.


7.

8.

9.

10. There was essentially no editing done in NLP and none at all in Lightroom for this photo of the beaver pond.


11.

12.

13. Top of the World highway on the way back to Dawson after a river tour to 40 mile. You can see photos of that here

Introduction to this blog

Welcome!

Hello and thank you for visiting my photo galleries. You can use the tabs above or the links below as you choose. The galleries will be upda...