Twas the season. Once upon a time I picked up some 120 Cinestill 800T thinking I'd do some city night photography with it. Then I forgot about it, though it was in the fridge right beside the cheese compartment that I look at nearly every day. Then I got another roll because, well, like I said.
If you're curious about film, keep reading. If you don't care about film technicalities, scroll down to the photos.
We had a long really cold spell here, and I wasn't thrilled about taking the film cameras out in it. They're metal, and would get cold quickly. The film would get cold shortly after that, and I started thinking about what temperature film gets brittle. I didn't find any definite answers, but the suggestions lined up pretty close to how cold it was outside, which was well into minus WTF territory. Being honest, when it's that cold it's easy to stay home and read or watch a movie.
The first evening it warmed up to something mostly civilized, like maybe -10C or something, I had the film loaded and away I went. Linda came along to spot as I drove around our neighbourhood. There were not as many light displays as I had hoped. Halloween seemed much better.
Eight photos goes quick, and then we got to the Griswold's near Michelle's place. I thought I had one more on the roll. I sighed big time when I put the exposed roll in the fridge, and saw the second roll. Had I realized... At that point I didn't want to go out again, and did want to see what the exposed film looked like before I went and exposed more. If I'd made a terrible mistake I wanted to know. This is expensive film, about $22 a roll to buy, and another $11 to develop.
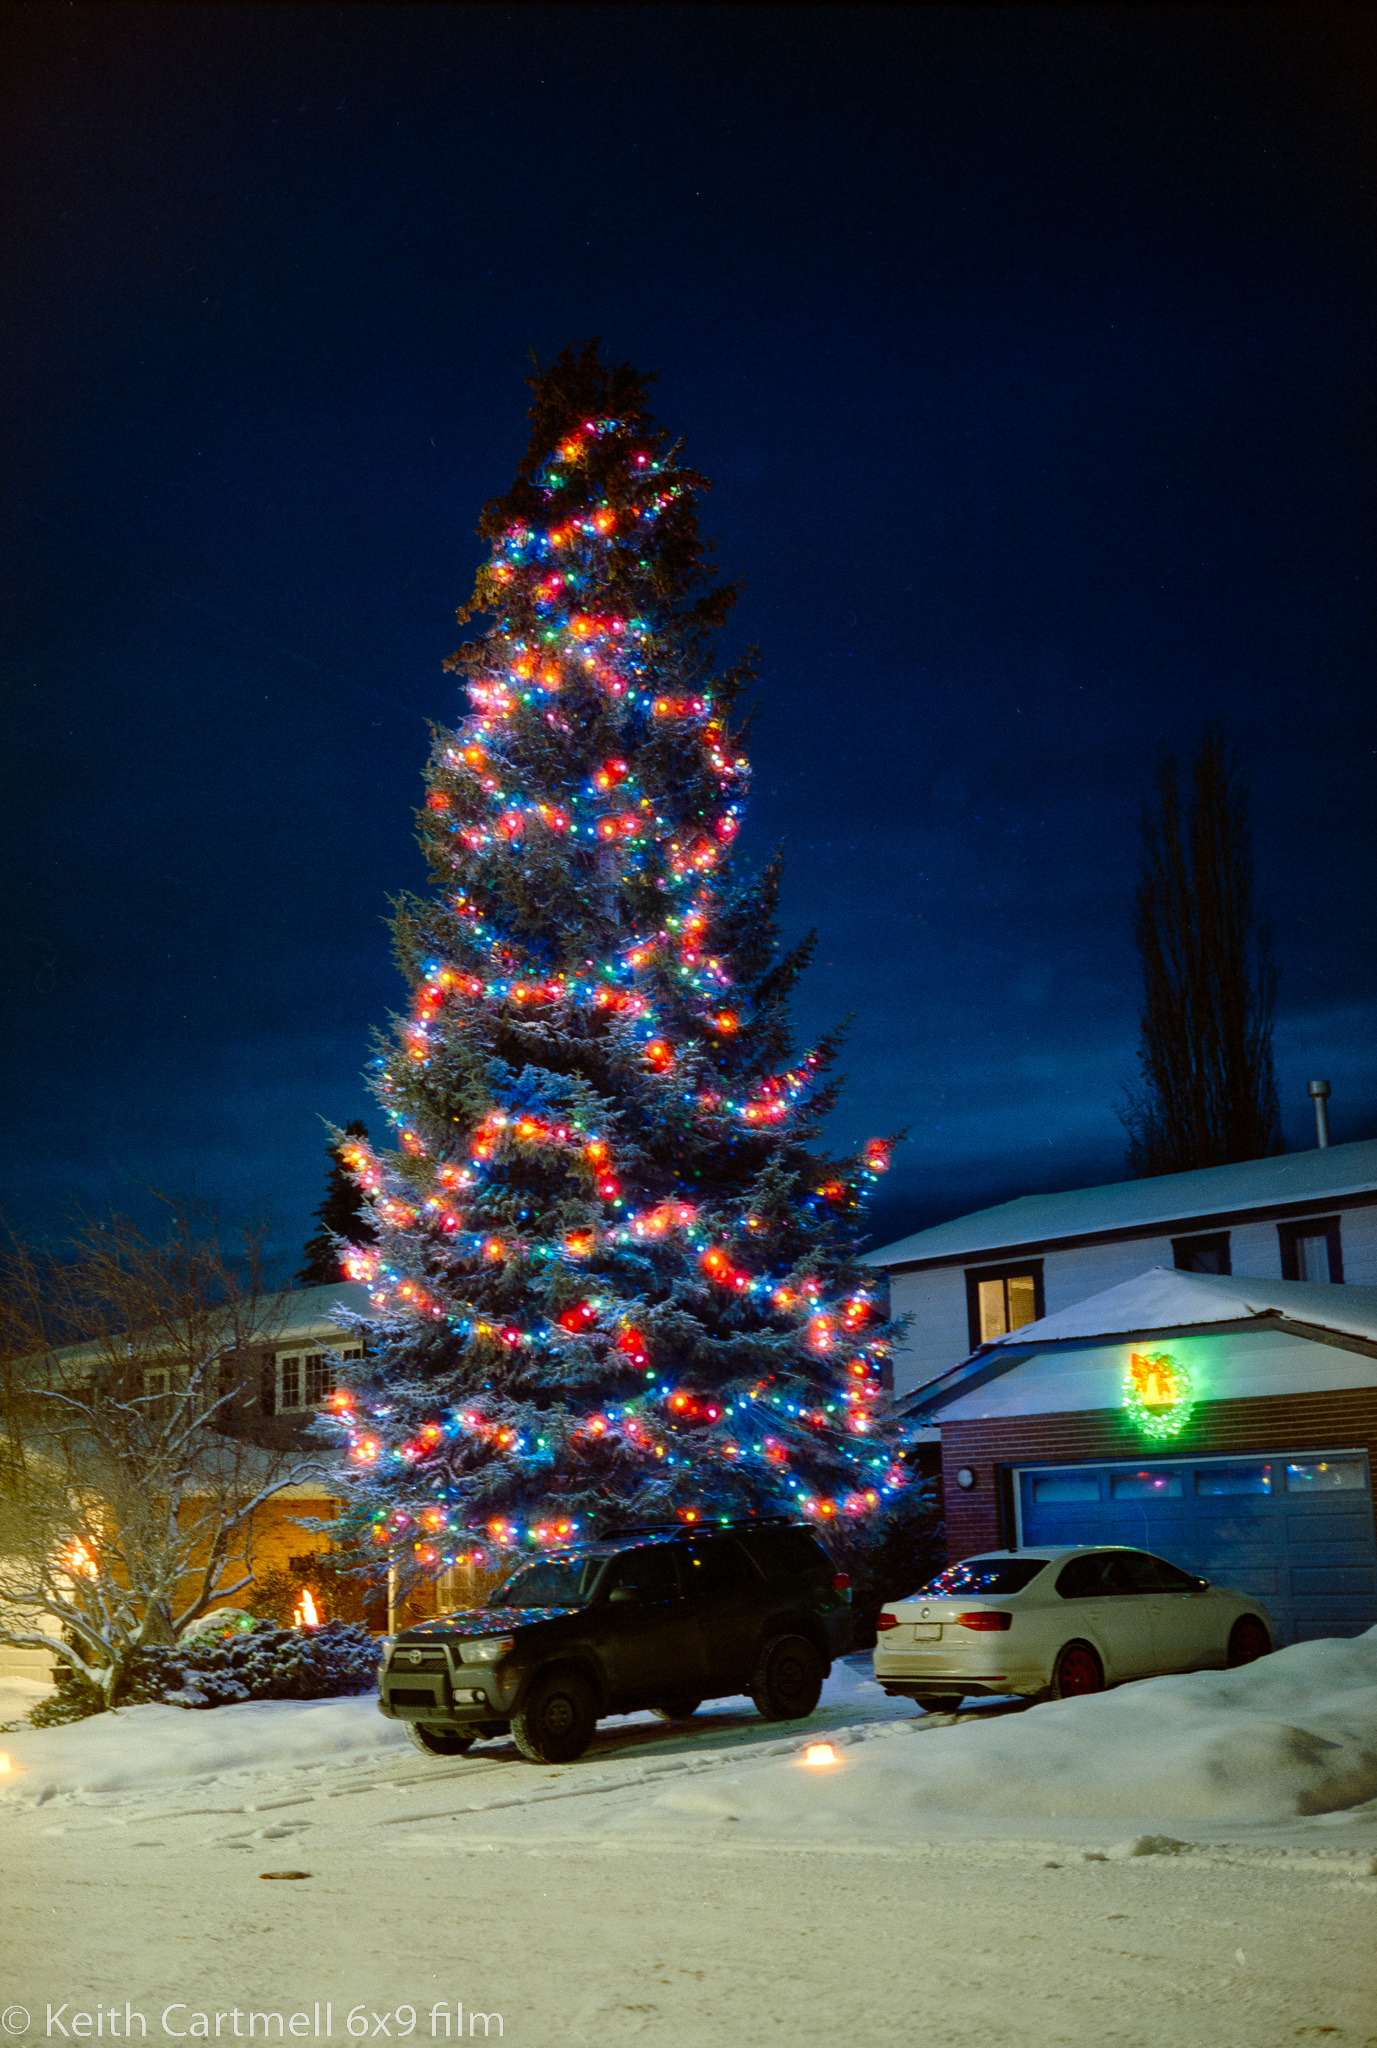
Anyway. The fun, or the downside of Cinestill 800T is that it's had the remjet layer removed, which means that some light can go through the film, exposing it like usual, and then bounce off the back of the camera and expose the film some more. This leads to a halo effect around lights, particularly neon lights, and particularly red lights. If you like it, you're in. If you don't like it, you'll use something else.
Exposure at night on film using a camera that doesn't have an exposure meter is something to be careful about. Normally I use an iPhone light meter, but occasionally bring the digital camera along to be a sophisticated light meter. I'm pretty sure I did that this time.
These were taken with the GW690, and the exposures were 1 second. Exposures longer than that, but shorter than about 5 seconds are a pain on this camera because it has a T mode, but not a B mode. But one second was easy, so it worked out really well. Normally I expose for the shadows and let the highlights take care of themselves, but for this I exposed for the brightest part of the lighting. I didn't mind if the sky and shadows were dark if the lights were right, and figured if it was too bit dark I could fix it in Lightroom.
There were only slight tweaks in Negative Lab Pro, typically Cinematic mode, and WB to Cinestill, with maybe a bit of tweaking to exposure and brightness. All I did in Lightroom was to rotate a few of the images slightly, and remove some dust spots.
1.


5.


I like how the colours came out, and the halation effect is interesting. I'll have to get up a night expedition with buddies and find a place to expose the other roll. Downtown, perhaps, or skyline, or maybe the Ogden industrial park. Maybe if I'm really organized I'll expose a roll of Gold 200 at the same time to see what I think.
I've been using the Lomograph film carriers to hold the film as I take the photo of it. This has been a bit of a pain, especially if the film curls. I was absolutely convinced that one brand of film was slightly narrower than standard, making it almost impossible to hold them. Maybe I'll revisit those with the glass. Sometimes the film being curved can affect how the digitizing photo is taken.
One way of keeping the photo absolutely flat is to sandwich it between two sheets of glass. Except if you use ordinary window glass you'll get ugly rings showing up because of how light diffracts through glass. But there's special glass that doesn't do this, and when I say special I mean expensive. I found a place that had some off cuts so got a couple pieces cheap.
The process goes like this. Wash your hands with soap, really thoroughly. Wipe the glass, both sides, each piece, with a microfibre cloth. Use an eyeglass lens cleaning solution if there are smudges and make sure it's dry with no streaks. Take film out of the plastic sheath they came from the lab in, blow it off or dust with an anti-static brush. Lay as many pieces of film on the glass as will fit. Put the second piece of glass on top, being careful not to move the two pieces in relation to one another. The film strips don't have to be lined up in relation to one another. Place them on the light source. Tweak focus, take first photo. Now, move the entire light source, NOT THE PANES OF GLASS, so that the next photo is in the view finder, click, repeat. Putting film on the glass is much faster than loading in the carrier.
In my digitization process I do not include the border, or the sprocket holes on 35mm film, but with the glass plate method I could if I wanted to. Doing this means being careful about your exposure because the camera could 'see' light directly from the light source. Sometimes white balance can be tricky in Negative Lab Pro if the border is included in the image.
I first experimented with some black and white film to see how it worked out, and to try to stitch multiple frames together to create a larger image. The process worked really well, though I didn't line up the edges quite perfectly, so instead of a print 4x3 feet, it would be about 4 x 2.5 feet. Not that that particular photo is worth it, but others might be, and I'm thinking some of the Tombstone photos. However, I hadn't taken any particular care to clean the film, so the dust spots were were insane! Note to self and all. If I had to print that one, I'd clean the film and redo the whole process.
Will I buy more Cinestill? I'm not sure. If I had a photo project where I wanted that halo effect, then of course I would. I'm looking forward to exposing the other roll and comparing to Gold 200.
Will I continue on using glass rather than the carriers for digitizing film? Yes! It's way faster than fussing with the carriers, especially for curly film. It just occurred to me that I could put other materials between the glass with the film, like coloured gels, or two pieces of film.
No comments:
Post a Comment
Looking forward to reading your comments.