Monday, January 29, 2024

Delta 100 in the ice and snow and brutal cold

I'm still working through a big batch of film I bought last year. There's a bit of everything because at that point I hadn't landed on a favourite, other than Kodak Gold 200 for colour.

But during a Calgary winter there isn't much outdoor colour so I reached into the box for some black and white. The Delta 100 was what came out. This is what Ilford says about it, "ILFORD DELTA 100 PROFESSIONAL is a medium speed, black & white film that uses our latest Core-shell™ emulsion technology to deliver superb image quality and maximum sharpness. Excelling in scenes that are detail rich, its exceptionally fine grain makes DELTA 100 the perfect choice for many applications or genres. Showing outstanding quality at its recommended rating of ISO 100/21°, DELTA 100 will also produce stunning results rated between ISO 50 and 200."

I started a roll Nov 27 and finished it Dec 15, then started another roll Dec 24. Along the way it got brutally cold out, well into minus WTF territory. I wasn't so worried about the camera, but suspected that if I was out for very long the film would get brittle and snap during winding. I'm using an EOS-3, so there is no 'gentle wind'. It's motor driven, whir snick, ready.

All but a few of the photos are outdoors, often in Fish Creek Park. If I don't have a particular place to go for photos, but want to be taking one of the cameras for a walk, I just think about where in Fish Creek I haven't been lately. It's such a huge place there's always something new to see, what with wildly diverse landscapes that are always changing because of weather or the seasons, or the light at that time of day. 

There was a bit of an adventure one day in the Glennfield Day Use area. I was walking on the snow covered ice, following some ski tracks, when my right leg went through the ice, up to just above my knee. That was a bit of a surprise, since most places are typically about ankle deep, and this was right beside the river bank. There was a bit of thrashing to get out, making sure that neither my camera or phone got wet. I wasn't so worried about my wallet, since we have plastic money now. It was about -18 C so I didn't waste any time getting back to the car. My pants were almost dry when I got there.

Generally I'm out during the middle of the day to late afternoon. I like the harsh shadows on the snow, and figured that would be a good challenge for the film. My usual process is to point the camera at the darkest part of the scene and adjust shutter speed and aperture for a middle exposure, then at a bright part of the scene, and see what the difference is. Then I'll think about the image I want from that scene, and work with viewpoint and aperture. Then check exposure again. I'll usually center the exposure based on the shadows, but sometimes I'll over expose by half a stop or a full stop, depending. 

The photos. What is common to all the photos is that they are lightly edited in NegativeLab Pro, and then in Lightroom. Only one of the images is cropped to remove the border from the digital scan (T6i using a Canon EF 100mm f2.8 macro) and you'll know it when you see it. I'm not sure why I didn't crop, but suspect that seeing so much white snow, on a white blog background, wouldn't be the best look for the images. I made a pass through to remove the worst of the dust spots, but if you want to look for them, you're going to find them. 

1. I liked the ice forming in the running water in the first three images.


2. I especially liked that ridge of ice. Pity I couldn't get closer.


3. Look for the sharp edges of the frost and snow. I was wishing I'd brought the macro lens to get up close and personal. I think that would show up pretty well on film.


4. Shadows!

5.

6.

7. I know perfectly well this lens (Canon EF 50mm f1.8) doesn't like being pointed into the sun, but I like how it flares, especially when there's ice crystals in the air. And yes, it took a while to figure out the exposure for this image.


8. Reflections in dark water are always fun.


9.

10. Bridge 8, one of the least attractive bridges in the entire park. I liked the play of light on the railing, and this turns out to be one of the better photos I taken of it. 


11. I stopped and stared at this scene just to enjoy it, then hustled to capture it before the wind blew it away. Another tricky exposure.


12. Playing with composition in the river bed can be fun.


13. An abstract of ice and snow.


14. It's not just rocks in the river bed.


15. Trees are gorgeous after fresh snow.


16.

17. The only indoor photo, though you have to look carefully to see Celina, who thinks the Christmas tree is there to give her a little kitty cave of security.


18.

19.

20. This was a brutally cold day. The car thought it was -41C. I was only out to drop Linda at the eye center and pick her up after. I cruised around looking for images till they were done. It did not take me long to get out of the car, compose, tweak settings and click.


21. I was getting back into the car when I saw this. Another quick exposure.


22. More trees in nice light. I love what my eyes see, and film captures only part of the magic.


23. There's lots of creatures in Fish Creek, and most of them are not afraid of humans.


24. Part of the big log jam near bridge 3.


I'd tried some Delta 100 in medium format, but that was mainly to put some rolls through the GW690 and try to get the hang of using it. The images were nice, (you can see them here) but I didn't really think about film characteristics. 

I like how really bright can shade into really dark so smoothly. Go back and look at 11 again. I've deliberately chosen to edit these without pushing the shadows brighter. My thinking is that on a really bright day the shadows are dark, and showing the detail starts smelling like HDR images.

I think I have a now have a favourite black and white film though I've still got a few other rolls to try out. There's 3 rolls each of Kentmere 100 and Lomography Earl Grey to try. If I was ambitious I'd get one of them into the camera and go for a walk, even though the light is dull and ugly right now. 

If you're new to the blog and don't want to miss the next one, just leave a comment asking to be added to the blog notification list. Or email me at keith@nucleus.com.

Saturday, October 21, 2023

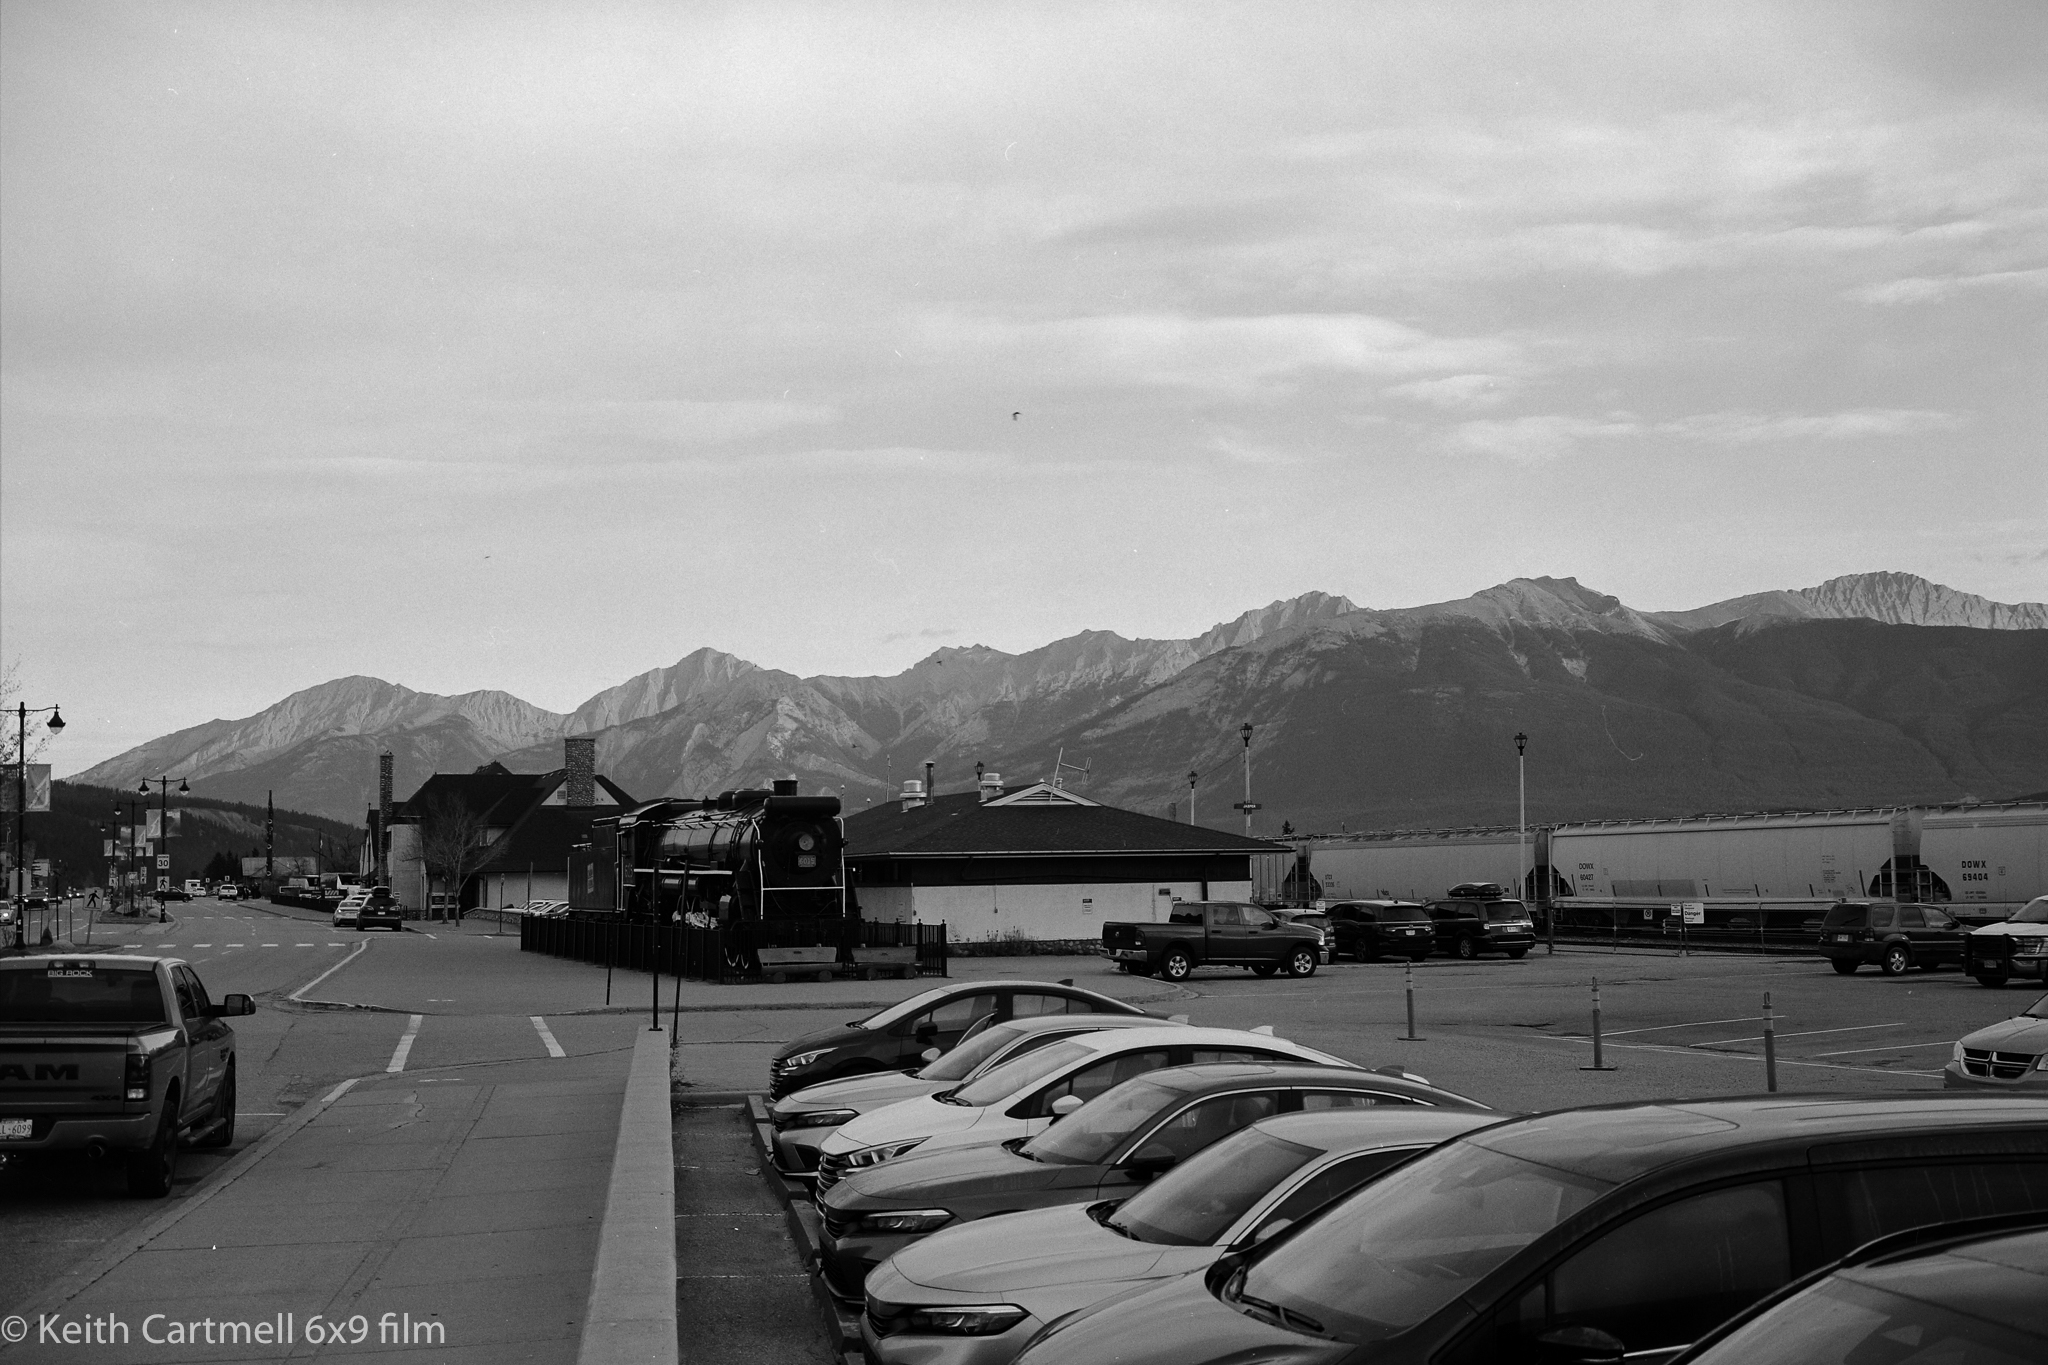
Medium format Ilford FP4+ in Jasper

 I have exposed several rolls of Acros II in my GW690 and quite liked it, but when the time came to buy more, there wasn't any. Such are just one of the trials of a film photographer. I picked out some Ilford FP4+ to try.

The first chance came in Jasper during a mid October trip with Neil Zeller. This was during the Dark Sky festival, but must admit the skies were not as dark as I had hoped. There's a story there, but that's for another time.

One of the nights we went out to a road that's closed for the season. We walked around the gate to the nearby bridge, and set up there. I had a number of digital photos that turned out well, but this is about film. Since it's difficult to aim and focus a rangefinder at the dark sky, I set the focus to infinity on the dial, which I know from experience is quite close. Composition? Given where the clouds were, I set up and aimed the camera straight up. 

One difference between digital and film is the exposure time to produce star trails like this. With digital the photographer figures out the settings to take a photo of the night sky. For me on a dark night, using a f1.8 lens, an exposure of about 15 seconds at ISO 1600 is a good starting place. From there I might tweak the settings depending on how the images look.

Once dialed in, the photographer will set the camera to take photo after photo with no time between them. That's about 4 photos a minute for about 20 to 30 minutes depending on how long you want the star trails to be. Then drop the photos into one of several software programs to stitch the photos together. It can look pretty amazing. Or stitch the images together in a time lapse movie. That's fun too.

With film, one sets up the camera, opens the shutter, and leaves it alone. Oh, and start a stop watch so you know how long it's been open. How long to leave it open is a bit of a question. It depends on the camera lens and the individual film characteristics, and they're all a bit different. My light meter isn't particularly accurate in the dark, and I'm not keen on spending lots of money for an accurate one. Reciprocity failure becomes a relevant word, which is why I liked Acros II for this. 

Which is better? I decline to answer that. They're just different. One difference is that if someone shines a light on the digital camera, that one image is probably ruined. You could drop that one out, and probably nobody would notice. Do that to the film camera, and it might ruin the whole exposure. I'd told people that I was running a film camera down at the end of the bridge and don't walk into it. They didn't. But gradually people migrated down there, and they brought their lights with them. Red lights, but still. I'm a little surprise that third one isn't brighter.

The negatives look a bit odd, in that they are almost entirely white. Once digitized, they are surprisingly easy to tweak to look nice. 


1. 15 minutes exposure.

2. 25 minutes exposure. No change to camera position. I advanced the film and clicked the shutter again. I could probably have gone 30 to 45 minutes.
 

3. About 20 minutes. At some point during this exposure the dew settled so the white in the middle of the photo is probably condensation. I'd been hoping to let it run for 30 minutes, but people were tired and wanted to pack up.


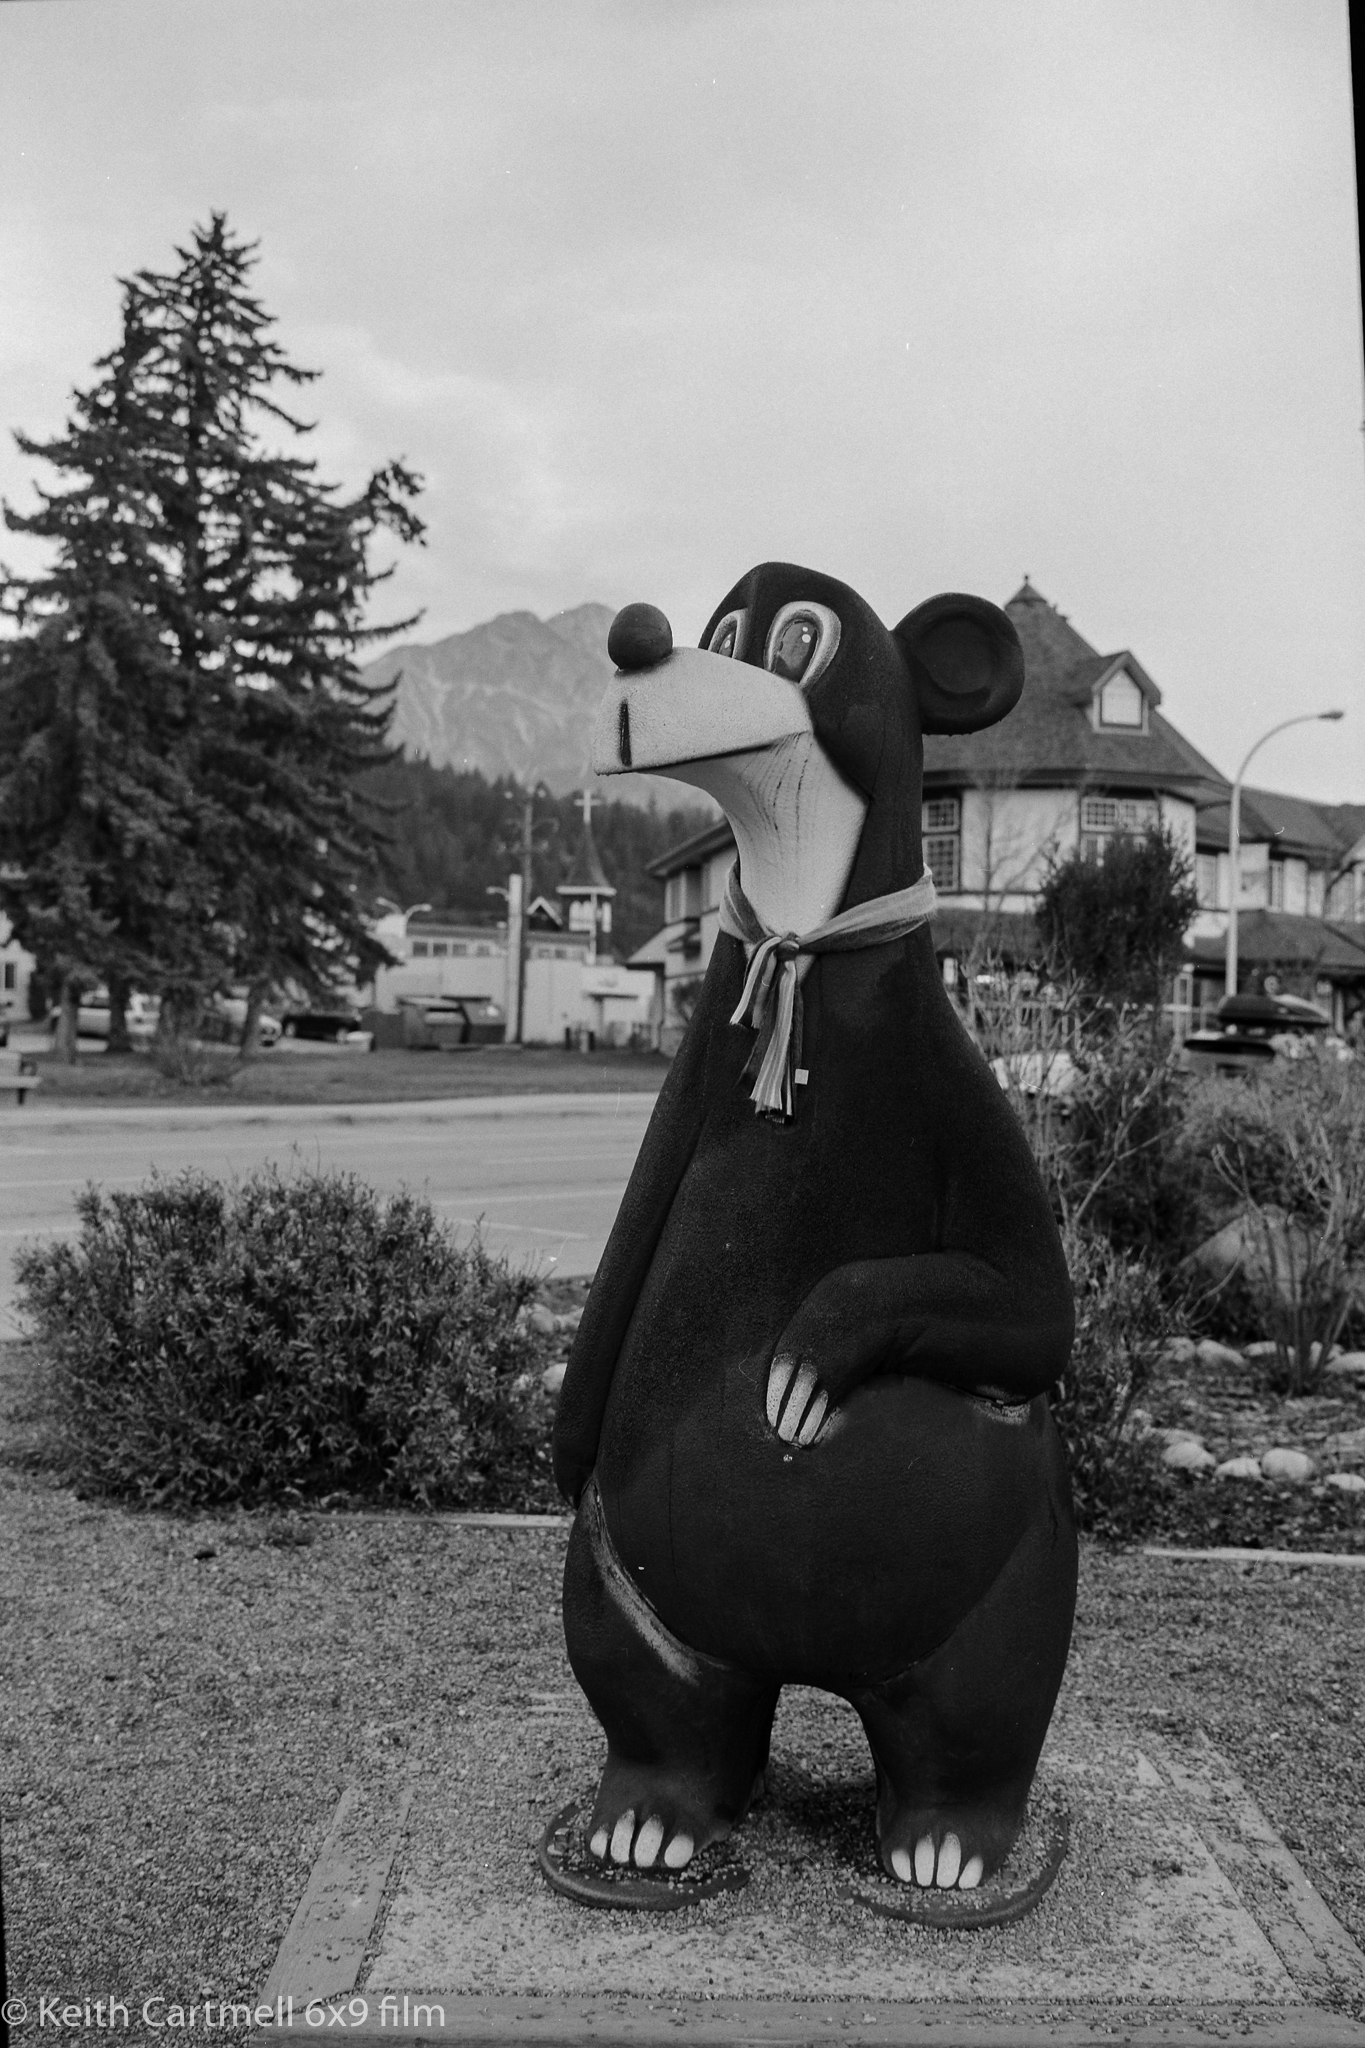
4. The rest of the photos are around town one morning, wanting to see what street scenes looked like under overcast skies. This is Jasper the bear.


5. Look carefully and you can see the tramway terminus at the top of the mountain.


6.

7.

8.

Overall, I'm not sure what I think of the film. The light was flat and it was tough to figure out exposure with a fairly bright overcast sky, and mostly shadowed streets. I did a bit of extra processing to bring up the shadows and get some cloud definition. Next time I think I'll try in a daylight scene with lots of light and lots of detail. 

Friday, July 28, 2023

HP5+ in an EOS-3

 There's been some bumps on the film road. I'd taken the Canon 7 out on Canada Day for some street photography and ended up having some problems with it. Eventually it locked up entirely. I just got the film back, and let's just say the results were interesting. There's some good frames, and lots of overlapping overexposed frames. My next project is to scan those particular rolls.

Mid July I attended a B&W photography session through The Camera Store. They gave us each a roll of Illford HP5+ ISO 400 film. At this point I didn't have a functional 35mm camera so I took the big medium format camera. I haven't finished that roll yet.

Shortly after that I found out the Canon 7 needed major repair work. It needs a complete disassembly and cleaning, and who knows how many parts are worn and need to be replaced. (If you want to take on this project, comment below.) 

I was looking to see what another one would cost compared to the cost of repairs, and found an EOS-3 for sale. This is one of the last film cameras made before digital took over, and was aimed at the so-called 'pro-sumer' market. It was what I had first looked for in a film camera, but couldn't find any locally, and went with the Fujica GW690.

In many ways it's a digital camera that uses film rather than a sensor. I traded in the lens for the Canon 7 and the EOS-3 was mine. The partial roll I'd rescued from the Canon 7 lockup was the first roll in, just to run it through the camera and see how things worked. Just looking at the negatives things appear just fine.

Then the HP5+, wanting to capture a variety of scenes to see how the film responded, plus work with the camera a bit more. I'm still learning to expose B&W film because what works for colour doesn't always work for B&W and vice versa.

Conclusions first. The EOS-3 is a dream to use, and that's before trying the eye focus system. I'm told it's unreliable if the user is wearing glasses with an antireflective coating, which I do. The controls are intuitive if you've been using a Canon 5 or 6 series digital. It handles well, and takes EF lenses. I think all these were taken with my 24-105mm lens. I've since picked up a 50mm lens, and can't wait to try that out.

The viewfinder is bright and clear, but the exposure compensation is vertical on the right side and it seems to pick up reflections that make it hard to see. I solved this by wearing a hat, which I normally do during photo sessions anyway. It's a similar size and weight to my 6D, and the shutter click is quite loud, so this isn't a stealth street photography camera. I might write more about the camera after I use it more.

The presenter (I think it's Chris Donovan) noted this is a forgiving film with wide latitude for exposure and pushing or pulling. I exposed these at box speed, aiming for a normal exposure, but looking for scenes with both dark shadows and bright light. Negatives were developed by Paul Stack, but I don't know the specifics. The negatives were digitized by me using a camera and a good macro lens, then inverted in Negative Lab Pro. Except where noted below, there was very little editing in NLP, typically increasing contrast a bit, and making the darks a little darker. In Lightroom there was only a bit of cropping and dust spot removal.

Out of the 36 exposures, all were in focus and nicely exposed. There's only 25 below, with the others being poor photos or having enough dust spots on them that I want to redo the digitization process. 

1. Linda in afternoon sun. She might be slightly under exposed since there's a bit of grain showing.


2. Our library. As you'll see, I love reflection photos.


3. The library again. 


4. Some outdoor nature photos, looking for the reflection from the hill above Votier's Flats in Fish Creek.


5. Looking for the clouds in the sky, but without a filter.


6. Near bridge 2.

7. The famous bridge 2, the most scenic bridge in all of Fish Creek.


8. I wanted the blades of grass in focus to play with the depth of field button. More experimentation needed. 

9. Reflections.

10. More reflections.

11. There was a photo of the underside of the bridge, but with lots of dust spots, and a bright lens flare on the left side.

12. My favourite reflection this walk.


13. Scrambling up the hill east of bridge 2. The rest of the photos till you get to Michelle are late afternoon light, taken on the escarpment loop from bridge 2, scramble up the hill to the south side of the park, then down the hill through the forest to bridge 1, not taking the paved path. In places this is hang onto a tree steep.


14.

15.

16.

17.

18. This burl is a highly contrasted black and white. I worked with this a bit to bring up the contrast to more closely resemble what I had seen. In the real world the background was a bit darker, and the centre part of the burl was whiter. 


19.

20. A steep path down, with lovely light through the trees.


21. Another burl not far from bridge 1. Somehow, I've never really been happy with any of the photos I've taken of this.


22. A parking lot reflection.


23. My favourite model Michelle, willing to pose to finish off the roll. Every camera I have loves her, and this film loves her. There's one more photo from the very end of the roll that I need to scan again. There were some dust spots, and I think it's easier to re-scan than edit the spots. These are mid-morning, with fairly strong light.


24.

25.

I can add you to my blog notification list if you'd like to know when I publish a new blog, either this one or my personal blog. Just send an email to keith at nucleus dot com, or comment.

Introduction to this blog

Welcome!

Hello and thank you for visiting my photo galleries. You can use the tabs above or the links below as you choose. The galleries will be upda...